AssasinK
Member
The AI behavior mechanism of the enemy in Sekiro is not very smart, there are many rules that can be followed, which provides convenience for the player to defeat the enemy quickly and without injury. Here is an analysis of Sekiro AI behavior mechanism. I hope it can be helpful to all players.
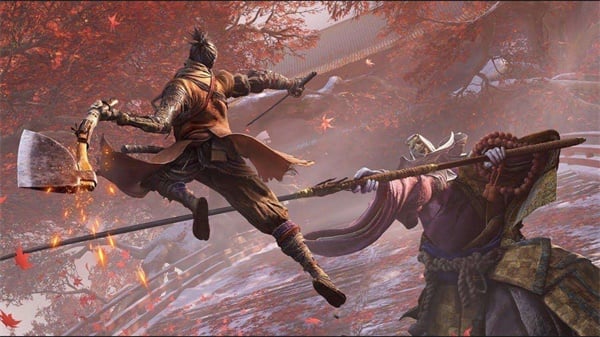
Vigilance and hatred state in Sekiro
1. Freedom
In this state, the enemy’s actions are completely preset actions. Some minions and elite monsters will patrol according to a fixed route, some will stand in a fixed position to watch and be in a daze, and even more will sit lazily on the ground drinking and chatting, etc. But some will fight people from different camps. Understand the free action mode of each enemy, you can better plan the sneak ninja route, and even trigger some content that can be tapped.
2. Faction
Different enemies belong to different camps. There are rivalries and alliances between different camps, and the alliance relationship may change. The wolf's camp belongs to the son of god, but as we all know, only the wolf is left in this camp. No effect if people in the same camp attacked each other. People in the alliance camp attacked each other partially effective. I haven't fully understood the specific camp division and alliance relationship here. You can explore by yourself. Under the influence of puppet technique, the enemy loses its own camp and becomes an alliance with the wolf, and will accidentally injure the wolf when attacking. Under the influence of the whistle, the small animal loses its alignment and reason and launches an indiscriminate attack.
3. Vigilance
The alert range of all AIs includes three areas, as shown:

The yellow area represents the hearing area. Small sounds in this range can also directly cause the enemy to alert. A yellow triangle appears and causes the enemy to turn around. However, when the sound is muted, it does not cause the enemy to alert (including learning skills to silence, squatting behind the enemy, or Direct moon hidden sugar); the green part is the enemy's afterglow area, which will gradually accumulate the alert value. When the alert triangle is not completely yellow, the enemy's free action will not be affected. After the accumulation is complete, the enemy will turn. The red area adopts a gradient color, representing the vision area. The closer you are to the enemy in this area, the faster the alert value will accumulate. When the alert value is completely accumulated to yellow, the enemy will start to notice the wolf. At this time, the gunners who attack remotely often do not need to approach the player to start accumulating red alert value, after the accumulation is full, start fighting, but the melee enemy often needs to get closer to fight. In addition, large noises can alert nearby enemies, such as performing endurance killing, damaging objects, throwing firecrackers, whistling, smashing pottery, etc. The enemy will go to the source to check the situation. The alert range of different enemies is also different, the role of Moon Yintang is to reduce the afterglow and vision range and eliminate the hearing range. As long as there is no war, the enemy is in a state that can be endured, unless it is the Water Saint Sword Master set by the plot.
4. Hatred
That is to say, the target of the battle. The wolf appears in the enemy's vision, or initiates a battle, or is triggered by the plot and terrain, etc., can enter the battle and cause hatred. Each AI can only have hatred for one target, that is, in a one-to-many battle, each move only locks on one target, without considering the positional moves of multiple enemies. When there are multiple enemy enemies near the enemy, the enemy who has just caused damage is generally targeted. Hostile camps can generate hatred, and the mechanism is also to arouse alertness first, and then enter the battle after seeing the enemy. But there are also neutral NPCs such as Cave Mountain, Zhenzuo, etc. As long as the wolf does not provoke them, it will not have hatred against the wolf, and can even fight with the wolf.
The enemy's own state in Sekiro
1. The response based on the type of defense
(1) Confrontation
The enemy will have a confrontational state. At this time, the enemy is not in any moves or actions, the enemy's torso will naturally recover, and when the wolf is attacked by the frontal attack, the block type enemy can parry, bounce, or even hide and see through. When the confrontation time is too long, the enemy will take the initiative to attack and use moves freely. The best strategy for an enemy in a confrontational state is to strike in time to make the enemy defend or make moves.
2 points need special explanation:
1'. When facing the enemy intentionally, the enemy will not defend. This is the case when Carmen skips classes in the castle tower.
2'. Since the stab cannot be blocked, press and hold the attack button to the enemy in the confrontation state. In the stab, the enemy often bounces directly instead of parrying, but the giant ninja stab will not be bounced.
(2) Parry
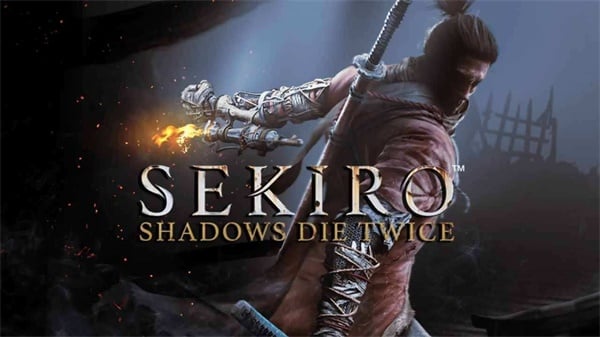
Blocking enemies will parry when they receive a frontal attack, and there are fixed counter-attack moves after parry. This method can be used to simplify the enemy's change of moves or create repetitions. Different enemies have different times of parry. Generally, it can be considered that the last stroke of a combo will cause a bounce. The previous parry was all. Ping A often bounces off after two parry and the third one. For prosthetic ninjas with chase and cut, they bounce and chase and cut. However, different enemies have different blocking strategies, which require players to explore by themselves. There is another way to seduce and parry, which is to change the move before you finish it. The most common one is the short rust pill and two combos, or the rust pill and the floating boat. Stable cycle.
(3) Bounce
There is a fixed counterattack after the bounce, and the bounce will also cause a period of rigidity to the wolf. Therefore, the enemy can be induced to counterattack after the bounce by continuous attack to simplify the change. This is also the most basic mode of fighting. Whether the enemy's bounce position is on the left or the right will also affect its moves. Some moves are triggered only after a specific side bounces, so there is a spear stab to induce the left hand side to bounce.
(4) Injured
Blocking enemies will quickly adjust to the parry state after being injured by HP. If they continue to suffer damage such as blood knife damage or sharp sword energy in the parry state, they will choose to move or retreat. For example, if you use the blood knife technique on the lone shadow crowd next to the lone shadow crowd, you can't use the trick of temptation and parry on the lone shadow crowd. For the overlord enemy, there are no previous types of defense. The overlord enemy can always move freely, so don't be greedy for the sword when facing the overlord enemy. Domineering enemies use their own toughness as defense. After reducing the toughness of the domineering enemy to zero, the enemy will interrupt any current actions and go directly to a short period of rigidity. For the overlord enemy with a knife, the torso can be collapsed by bounce, such as the third stage of the monk breaking the monk and the headless lion ape, but the lion ape and the ghost of resentment must be actively attacked to make the torso collapse.
2. Location
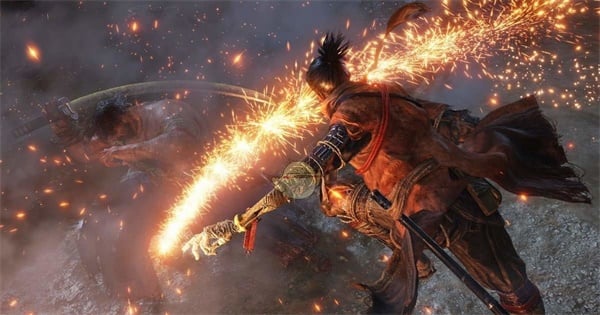
After the enemy leaves the preset jurisdiction area, the priority will be returned to the area, and the attack will only resume when the protagonist wolf is close; when the enemy is significantly away from the preset area, it will no longer actively attack, but still retain the parry and rebound after counterattack; continue; Stay away, the enemy will completely lose the ability to act and even counterattack and block the ability. This is a very universal way of skipping classes in the face of elite monsters. What I have tried and feasible include: Ninja Hunter (will retreat after getting on the bridge, and will not move at all after crossing the bridge for a while), Anaconda Rezo (abandon counterattack after reaching the opposite bank of the water), Water Sword Master (pass After the bridge, he gave up the active attack and the counterattack after parry), and the orphans were spearheaded (three years ago, the first Taro soldiers seduce in the direction of Zhulinpo, Zhengchang will give up the active attack and parry and counterattack, three years later Start to retreat from the grass, and there is a door between the bridge where the general and the orphans are fighting. The door is a Yaksha candy, and after this door is over, he will give up resistance)
3. Self-counting
The enemy will count part of its own actions, and when the counting conditions are met, certain moves are triggered (non-white hat orphans will parry out of the fairy peaks, and the ghosts will appear in turn in the lower stage of the third stage, etc.). This mechanism can be used to predict Judge the enemy's move. This mechanism is widespread, and everyone can explore it by themselves.

Vigilance and hatred state in Sekiro
1. Freedom
In this state, the enemy’s actions are completely preset actions. Some minions and elite monsters will patrol according to a fixed route, some will stand in a fixed position to watch and be in a daze, and even more will sit lazily on the ground drinking and chatting, etc. But some will fight people from different camps. Understand the free action mode of each enemy, you can better plan the sneak ninja route, and even trigger some content that can be tapped.
2. Faction
Different enemies belong to different camps. There are rivalries and alliances between different camps, and the alliance relationship may change. The wolf's camp belongs to the son of god, but as we all know, only the wolf is left in this camp. No effect if people in the same camp attacked each other. People in the alliance camp attacked each other partially effective. I haven't fully understood the specific camp division and alliance relationship here. You can explore by yourself. Under the influence of puppet technique, the enemy loses its own camp and becomes an alliance with the wolf, and will accidentally injure the wolf when attacking. Under the influence of the whistle, the small animal loses its alignment and reason and launches an indiscriminate attack.
3. Vigilance
The alert range of all AIs includes three areas, as shown:

The yellow area represents the hearing area. Small sounds in this range can also directly cause the enemy to alert. A yellow triangle appears and causes the enemy to turn around. However, when the sound is muted, it does not cause the enemy to alert (including learning skills to silence, squatting behind the enemy, or Direct moon hidden sugar); the green part is the enemy's afterglow area, which will gradually accumulate the alert value. When the alert triangle is not completely yellow, the enemy's free action will not be affected. After the accumulation is complete, the enemy will turn. The red area adopts a gradient color, representing the vision area. The closer you are to the enemy in this area, the faster the alert value will accumulate. When the alert value is completely accumulated to yellow, the enemy will start to notice the wolf. At this time, the gunners who attack remotely often do not need to approach the player to start accumulating red alert value, after the accumulation is full, start fighting, but the melee enemy often needs to get closer to fight. In addition, large noises can alert nearby enemies, such as performing endurance killing, damaging objects, throwing firecrackers, whistling, smashing pottery, etc. The enemy will go to the source to check the situation. The alert range of different enemies is also different, the role of Moon Yintang is to reduce the afterglow and vision range and eliminate the hearing range. As long as there is no war, the enemy is in a state that can be endured, unless it is the Water Saint Sword Master set by the plot.
4. Hatred
That is to say, the target of the battle. The wolf appears in the enemy's vision, or initiates a battle, or is triggered by the plot and terrain, etc., can enter the battle and cause hatred. Each AI can only have hatred for one target, that is, in a one-to-many battle, each move only locks on one target, without considering the positional moves of multiple enemies. When there are multiple enemy enemies near the enemy, the enemy who has just caused damage is generally targeted. Hostile camps can generate hatred, and the mechanism is also to arouse alertness first, and then enter the battle after seeing the enemy. But there are also neutral NPCs such as Cave Mountain, Zhenzuo, etc. As long as the wolf does not provoke them, it will not have hatred against the wolf, and can even fight with the wolf.
The enemy's own state in Sekiro
1. The response based on the type of defense
(1) Confrontation
The enemy will have a confrontational state. At this time, the enemy is not in any moves or actions, the enemy's torso will naturally recover, and when the wolf is attacked by the frontal attack, the block type enemy can parry, bounce, or even hide and see through. When the confrontation time is too long, the enemy will take the initiative to attack and use moves freely. The best strategy for an enemy in a confrontational state is to strike in time to make the enemy defend or make moves.
2 points need special explanation:
1'. When facing the enemy intentionally, the enemy will not defend. This is the case when Carmen skips classes in the castle tower.
2'. Since the stab cannot be blocked, press and hold the attack button to the enemy in the confrontation state. In the stab, the enemy often bounces directly instead of parrying, but the giant ninja stab will not be bounced.

(2) Parry
Blocking enemies will parry when they receive a frontal attack, and there are fixed counter-attack moves after parry. This method can be used to simplify the enemy's change of moves or create repetitions. Different enemies have different times of parry. Generally, it can be considered that the last stroke of a combo will cause a bounce. The previous parry was all. Ping A often bounces off after two parry and the third one. For prosthetic ninjas with chase and cut, they bounce and chase and cut. However, different enemies have different blocking strategies, which require players to explore by themselves. There is another way to seduce and parry, which is to change the move before you finish it. The most common one is the short rust pill and two combos, or the rust pill and the floating boat. Stable cycle.
(3) Bounce
There is a fixed counterattack after the bounce, and the bounce will also cause a period of rigidity to the wolf. Therefore, the enemy can be induced to counterattack after the bounce by continuous attack to simplify the change. This is also the most basic mode of fighting. Whether the enemy's bounce position is on the left or the right will also affect its moves. Some moves are triggered only after a specific side bounces, so there is a spear stab to induce the left hand side to bounce.
(4) Injured
Blocking enemies will quickly adjust to the parry state after being injured by HP. If they continue to suffer damage such as blood knife damage or sharp sword energy in the parry state, they will choose to move or retreat. For example, if you use the blood knife technique on the lone shadow crowd next to the lone shadow crowd, you can't use the trick of temptation and parry on the lone shadow crowd. For the overlord enemy, there are no previous types of defense. The overlord enemy can always move freely, so don't be greedy for the sword when facing the overlord enemy. Domineering enemies use their own toughness as defense. After reducing the toughness of the domineering enemy to zero, the enemy will interrupt any current actions and go directly to a short period of rigidity. For the overlord enemy with a knife, the torso can be collapsed by bounce, such as the third stage of the monk breaking the monk and the headless lion ape, but the lion ape and the ghost of resentment must be actively attacked to make the torso collapse.

2. Location
After the enemy leaves the preset jurisdiction area, the priority will be returned to the area, and the attack will only resume when the protagonist wolf is close; when the enemy is significantly away from the preset area, it will no longer actively attack, but still retain the parry and rebound after counterattack; continue; Stay away, the enemy will completely lose the ability to act and even counterattack and block the ability. This is a very universal way of skipping classes in the face of elite monsters. What I have tried and feasible include: Ninja Hunter (will retreat after getting on the bridge, and will not move at all after crossing the bridge for a while), Anaconda Rezo (abandon counterattack after reaching the opposite bank of the water), Water Sword Master (pass After the bridge, he gave up the active attack and the counterattack after parry), and the orphans were spearheaded (three years ago, the first Taro soldiers seduce in the direction of Zhulinpo, Zhengchang will give up the active attack and parry and counterattack, three years later Start to retreat from the grass, and there is a door between the bridge where the general and the orphans are fighting. The door is a Yaksha candy, and after this door is over, he will give up resistance)
3. Self-counting
The enemy will count part of its own actions, and when the counting conditions are met, certain moves are triggered (non-white hat orphans will parry out of the fairy peaks, and the ghosts will appear in turn in the lower stage of the third stage, etc.). This mechanism can be used to predict Judge the enemy's move. This mechanism is widespread, and everyone can explore it by themselves.


